Step by Step How to Install Oracle Enterprise Linux (OEL 7) on VirtualBox
Click here To know how to download Softwares
Click here To know more about how to create a Virtual Machine Using Oracle VirtualBox
Step1:
Create and Configure your virtual machine following the steps described in how-to-create-new-virtual-machine-with. Check Step 9 in this post to select the Installation Source ISO Image and then Power On your virtual machine to boot it from OEL7 iso Image

Step2:
Just wait for the Next Screen
Step3:
Just Click continue on this Screen to proceed further

Step4:
This is the Screen where you can choose and customize various Options / Packages before you proceed for the Installation

Step5:
Click on LOCALIZATION and select appropriate Region , City, Time Format and Date and click done

Step6:
On this Screen select "I will configure partationing " and click done

Step7:
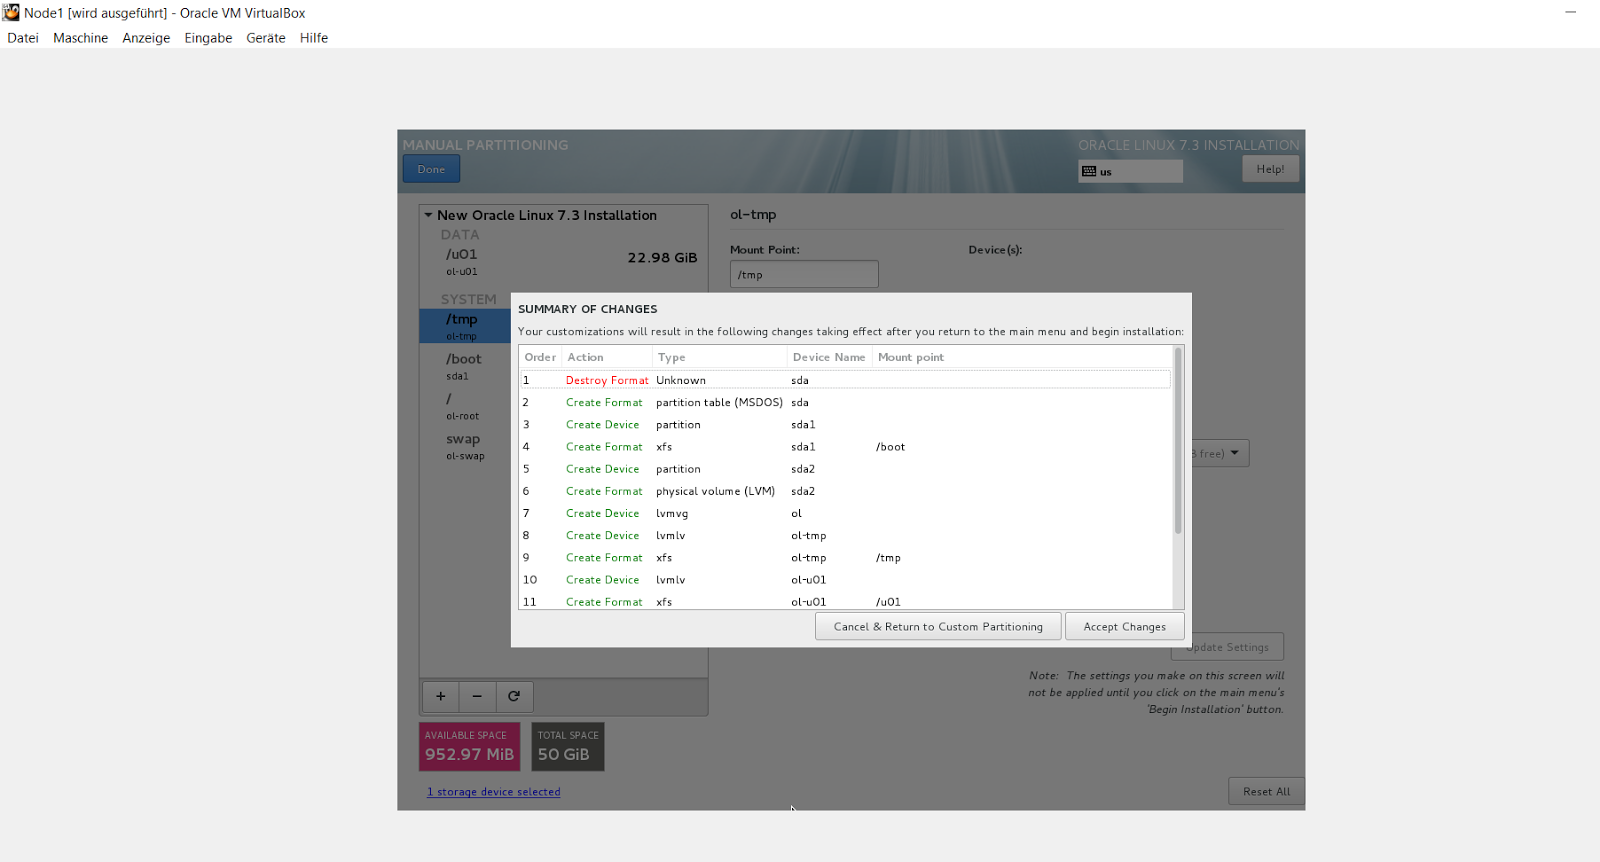
Create following partations
/ 15 GB
/boot 1 GB
/swap 5 GB
/tmp 5 GB
/u01 25 GB
Click done once you are happy with the required partations. You can customize partations according to your requirements and availiable space

Step8:
Click Accept changes to proceed further
Step9:
On this page configure IP addresses for availiable NIC. Since I will use this Server for Oracle RAC Installation I have 2 NIC. Eth0 (enp0s3) I will use for public Network and eth1 (enp0s8) I will use for private interconnect
Select the NIC Card you want to configure and click configure
on General Tab ensure "Automatically connect to this Network when it is availiable " is checked.
"All user may connect to this Network " is checked
Go to tab IPV4 Settings. Click add and enter desired IP address and and Net Mask. In mý case it is 192.9.1.100 and Mask is 255.255.255.0
leave the DNS Server and Search Domain Field empty
Go to IPV6 Settings tab and choose ignore from the drop down list-
Click Save.


Step10:
Select the 2nd NIC and configure it for Private Interconnect similarly as described in step 9 and click save
I am using IP 10.0.0.1 and Net mask 255.0.0.0 for private Interconnect
Enter the hostname (node1.oracle.com in my case) and click apply.
Click done

Step11:
Choose "Software Selection" link and pick the following options if you want a GUI console.
- Base Environment > Server with GUI
- Add-Ons for Selected Environment > Compatibility Libraries
- Add-Ons for Selected Environment > Development Tools

Step 12:
Once you have completed your alterations to the default configuration, click the "Begin Installation" button.
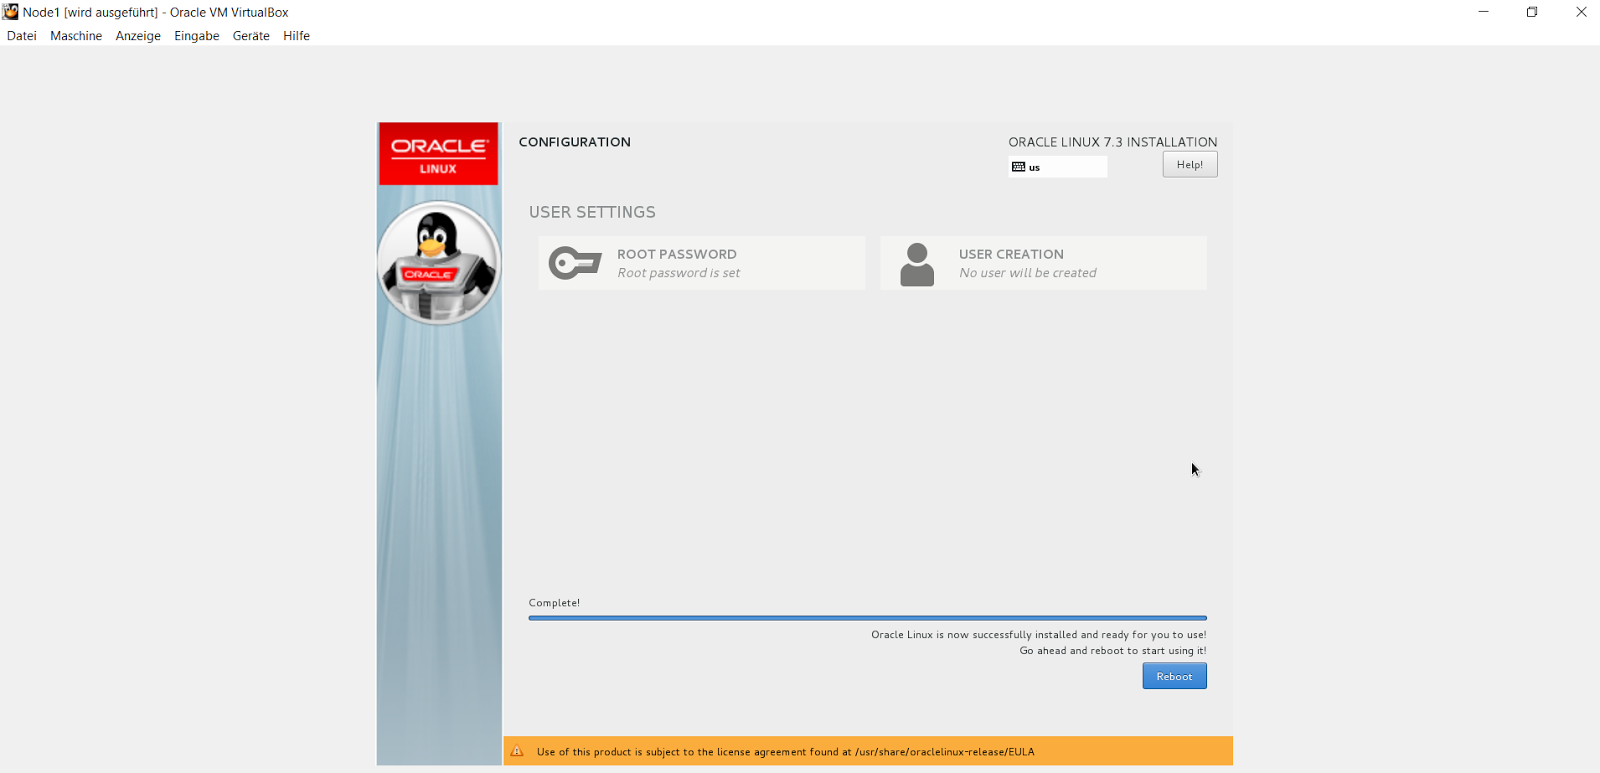
On this Screen you can set the root Password and also you can create a New user


Step13:
Once the Installation is completed click on Reboot Button
On this Screen click Licence Information link and accept the licence. Create New user if you have not created so far
Once you are done click on Finish Configuration

Step15:
Follow the Steps to adopt the language and so on.......
Step16:
Disable SELinux
- disabled or switched to permissive. To do this edit the "/etc/selinux/config" file, making sure the SELINUX flag is set as follows.
SELINUX=permissive
Disable Firewall
- If the OS is to be used for an Oracle installation, it is easier if the firewall is disabled. This can be done by issuing the following commands from a terminal window as the "root" user.
# systemctl stop firewalld
# systemctl disable firewalld
Your website is very beautiful or Articles. I love it thank you for sharing for everyone. IT Service Berlin
ReplyDelete